
Alpha Drag
Alpha Drag lays one image on the model as a single stamp: press where its centre should be, drag outward to size and turn it, and release to lay it. The same tool is in both Paint and Sculpt, with one shared set of settings, and a single stamp can paint the image's colours and raise its relief at the same time — a coin, a rivet, a badge, a panel of bricks or scales, placed exactly where and as big as you want it. If you know ZBrush, it is its DragRect stroke.
Picking the tool
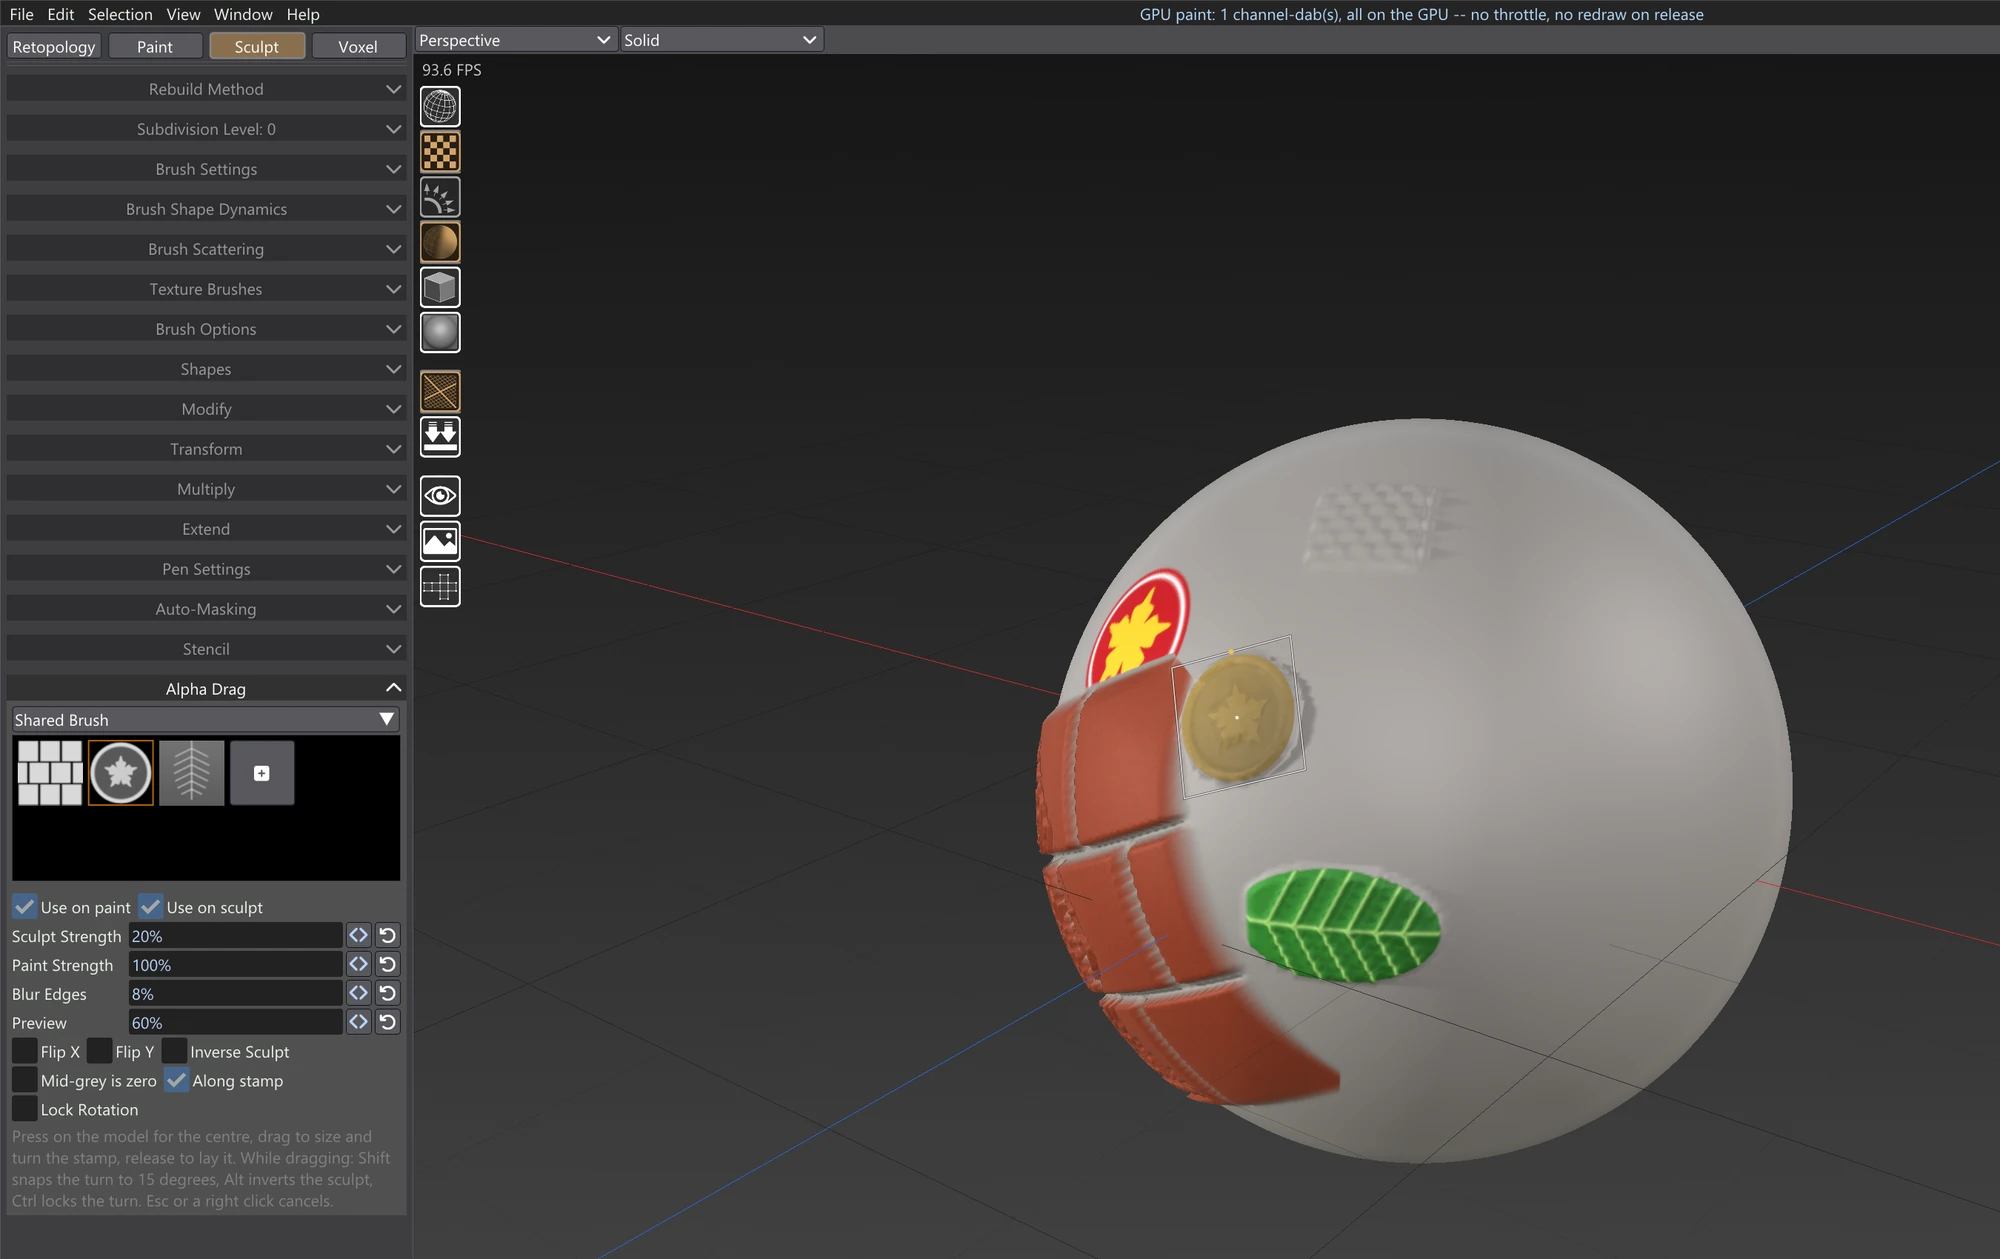
In Paint, Alpha Drag is the icon under the Paint Brush in the tool row beside the sidebar. In Sculpt, the same icon is in the brush row at the bottom of the viewport, after Mask. While it is the tool, the Alpha Drag accordion appears at the bottom of the sidebar and opens by itself. Every value in it is shared by the two tabs: change the Sculpt Strength in Paint and Sculpt shows the new value too.
Laying a stamp
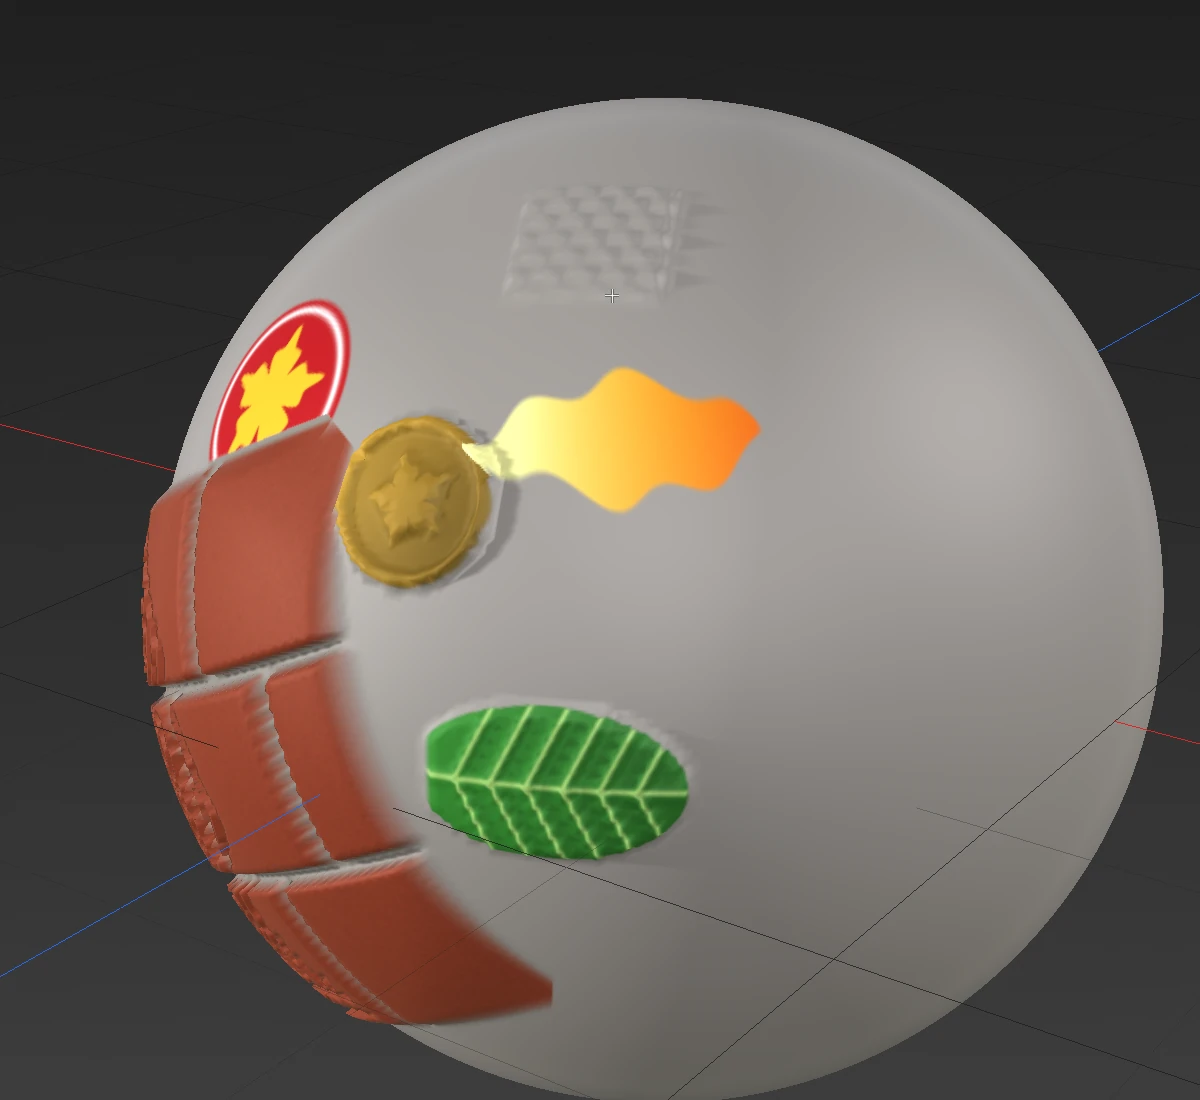
Press on the model where the centre of the stamp should be and drag outward. The length of the drag is the stamp's longer half-side, and its direction turns the image: dragging straight to the right keeps the image upright as you see it, dragging up turns it a quarter turn, and so on. Release to lay it. A click without a drag lays nothing.
While you drag, a white outline shows the stamp's rectangle with a small orange dot on the image's top edge and a dot at its centre. When the stamp will paint, its picture is drawn inside the outline at the Preview opacity. When it will sculpt, the surface itself moves as you drag — that is not a preview but the result, re-laid from the untouched surface on every movement, so dragging back to a smaller size leaves nothing of the bigger one behind.
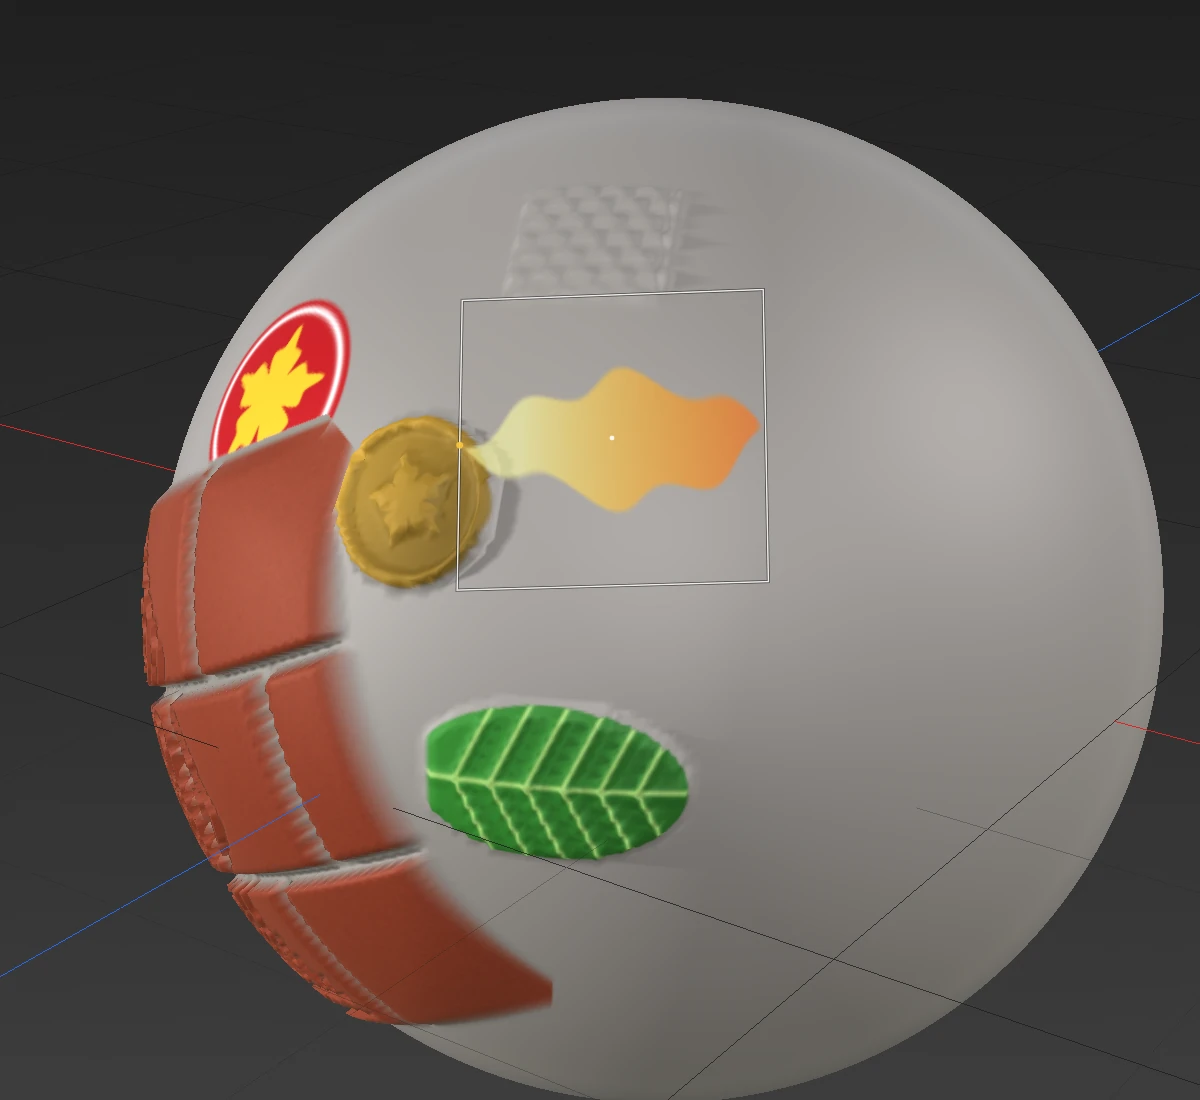
Hold these while you drag (held when you press, Ctrl and Alt orbit the view as usual):
| Key | What it does |
|---|---|
| Shift | Snaps the turn to steps of 15 degrees. |
| Alt | Inverts this stamp's sculpt: it cuts in where it would raise, as Inverse Sculpt does. |
| Ctrl | Locks the turn: the drag only sizes the stamp, which stays upright to the view, as Lock Rotation does. |
| Esc or a right click | Cancels the stamp. Nothing is laid and nothing is added to undo. |
Paint, sculpt, or both
Use on paint paints the image's colours onto the active paint layer — texture painting or vertex painting, whichever Paint is set to — at the Paint Strength. It respects your layers, mask and symmetry like any paint stroke. An image with no colours of its own (a stencil, a greyscale brush tip, or a Sculpt stamp) paints in the current brush colour, its lightness or transparency deciding how much.
Use on sculpt raises the surface by the image's greyscale: by default white raises it and black leaves it alone. Sculpt Strength sets how high white goes, as a percent of the stamp's shorter half-side, so a stamp you drag out bigger is also deeper. The sculpt half runs on the GPU, with the same result the CPU gives. It respects the sculpt mask, Auto-Masking, the stencil and symmetry.
The stamp only shapes the surface under it: the part of the mesh joined to the point you pressed, near the stamp's plane and facing its way. Something else inside the stamp's reach — a hand held in front of the chest, a body under a layer of clothing, the far side of a thin part — is left alone, and the stamp fades out smoothly where the surface curves away rather than tearing.
With both ticked, one drag does both, and one Ctrl+Z takes both back, from either tab.
The Alpha Drag accordion
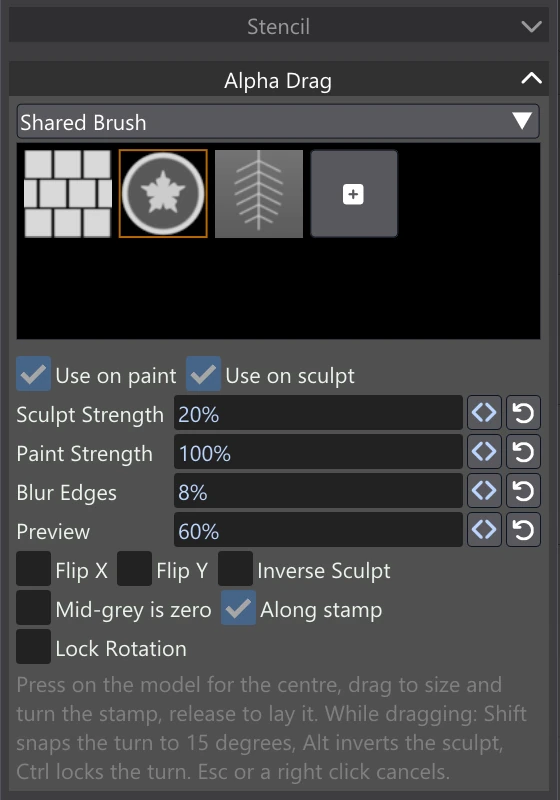
| Control | What it does | Range |
|---|---|---|
| Source | Which stamps to show: Single Brush, Shared Brush, Paint Brushes or Stencils (see below). Click a thumbnail to pick it. | |
| Use on paint | Paint the stamp's colours onto the active paint layer. | |
| Use on sculpt | Raise (or cut) the surface by the stamp's greyscale. | |
| Sculpt Strength | How far white raises the surface, as a percent of the stamp's shorter half-side. | 0–200% |
| Paint Strength | How strongly the stamp's colours paint. | 0–100% |
| Blur Edges | Fades the stamp out toward its edges over this share of its shorter half-side, so a hard-edged image does not leave a hard rim. | 0–100% |
| Preview | How visible the stamp's picture is over the model while you drag. The sculpted relief always shows for real. | 0–100% |
| Flip X / Flip Y | Mirror the stamp left to right / top to bottom. | |
| Inverse Sculpt | Cut in where the stamp would raise, and raise where it would cut. Holding Alt while you drag does the same for one stamp. | |
| Mid-grey is zero | Off: black leaves the surface alone and white raises it. On: mid-grey leaves it alone, lighter raises and darker cuts in — for height maps made that way. | |
| Along stamp | On (the default): every point moves the one way the stamp faces, like a press — clean on any surface. Off: each point moves along its own normal and the stamp wraps round a curve, but a finely wrinkled surface crumples. | |
| Lock Rotation | The drag only sizes the stamp; it stays upright to the view. Holding Ctrl while you drag does the same for one stamp. |
Stamps and sources
Alpha Drag keeps its own library of stamps, apart from the brush tips and the stencils, and can also stamp those two libraries' images.
| Source | What it lists |
|---|---|
| Single Brush | Stamps that belong to one tab only: in Paint, Paint's own colour stamps; in Sculpt, Sculpt's own greyscale stamps. A single stamp never shows in the other tab. |
| Shared Brush | Stamps that show in both tabs: in colour in Paint and in greyscale in Sculpt. A shared stamp can carry its own height image, which Sculpt uses instead of the colours' brightness — the coin's star stands up even though the gold around it is just as bright. |
| Paint Brushes | The images of the brush library. |
| Stencils | The images of the stencil library. |
The cell with a plus sign at the end of the Single Brush and Shared Brush lists imports a new stamp. A single stamp goes into the tab you are in (kept in colour for Paint, in greyscale for Sculpt). A shared stamp asks for its colour image, then for an optional height image — cancel the second to use the colours' brightness. Right-click a stamp to rename or delete it. Vertexix comes with a few starter stamps in each list.
Tips
- The sculpted detail can only be as fine as the mesh under it. On a coarse area, sharp steps in the image — the mortar between bricks, the rim of a coin — come out jagged; a little Blur Edges, a smoother image or a denser mesh (see Subdivision Levels and Dynamic Topology) helps.
- To keep a stamp's relief separate and adjustable, select a sculpt layer before stamping; the stamp goes into it like any stroke.
- For a decal that only paints, untick Use on sculpt; for a pure emboss, untick Use on paint.