Rings, Caps, Extend & Bridge
These four Create tools work from the model's shape or from the open edges of the quads you already have, rather than from curves.
Ring
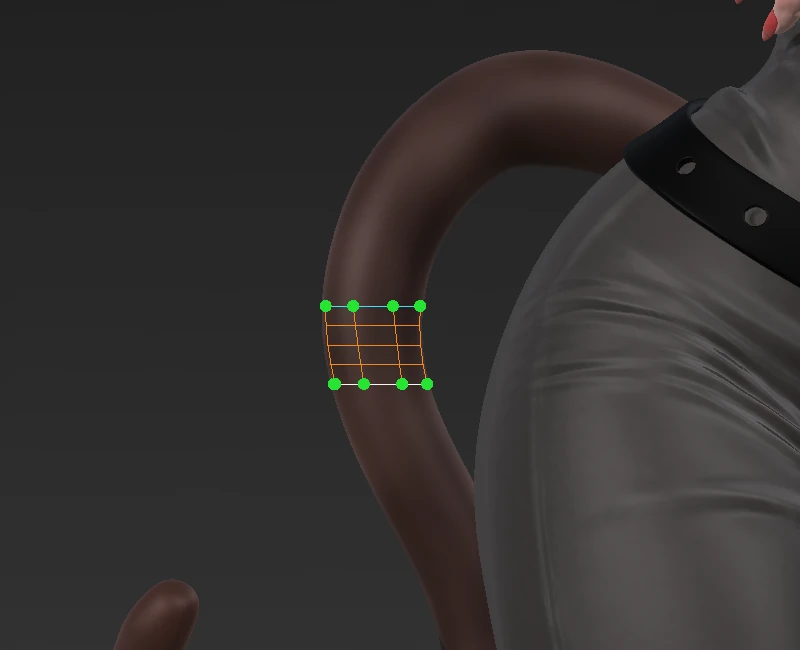
Press, drag a straight line across a limb and release. Start and end the line off the limb, on either side of it. The model is cut along the line, straight into the screen, and the cross-section of the limb becomes a ring of points (cyan). Of everything the cut passes through, the ring is the loop the line spans end to end and nearest to you.
- Left / Right set the ring's points (an even number, 8 to start with).
- Drag a second line further along the limb: the tube between the two rings is previewed; Up / Down set its rows.
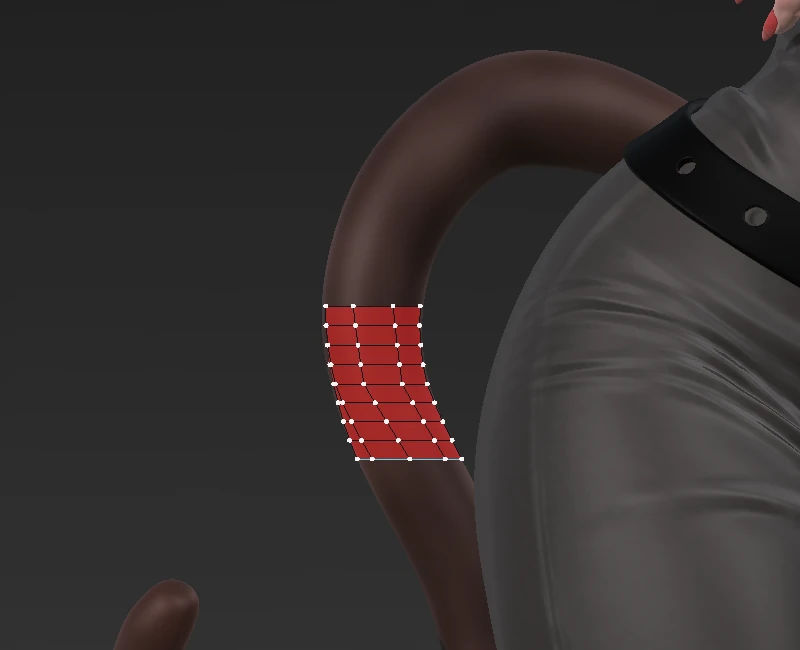
- The next cut (or Enter) makes that segment and the tube carries on from the ring it ended on. Once the first segment is made, the ring's point count stays fixed.
- Esc ends the tube; the segments made stay.
Contours
Ring's settings choose Cut by Cut (the way above) or Contours. With Contours, drag cut after cut along the limb without stopping: each one is kept as a white ring and nothing is made yet. The preview is the whole tube through all of them — the same number of points round every ring, each ring lined up with the one before, and as many rows between two rings as make the quads about square (the Rows setting is greyed out). Enter makes the whole tube in one step; Backspace takes the last cut back. A tube already started carries on from its end ring.
Grabbers: straightening the quads
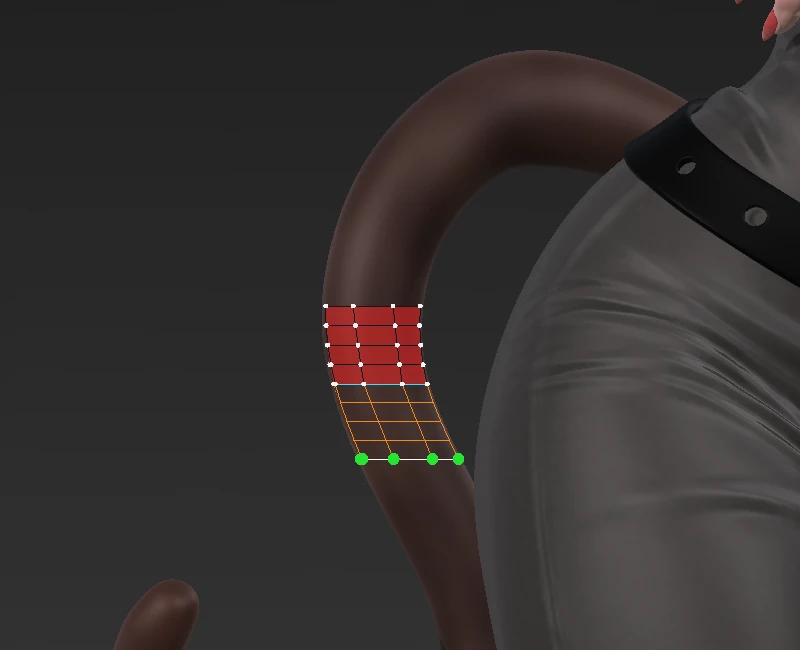
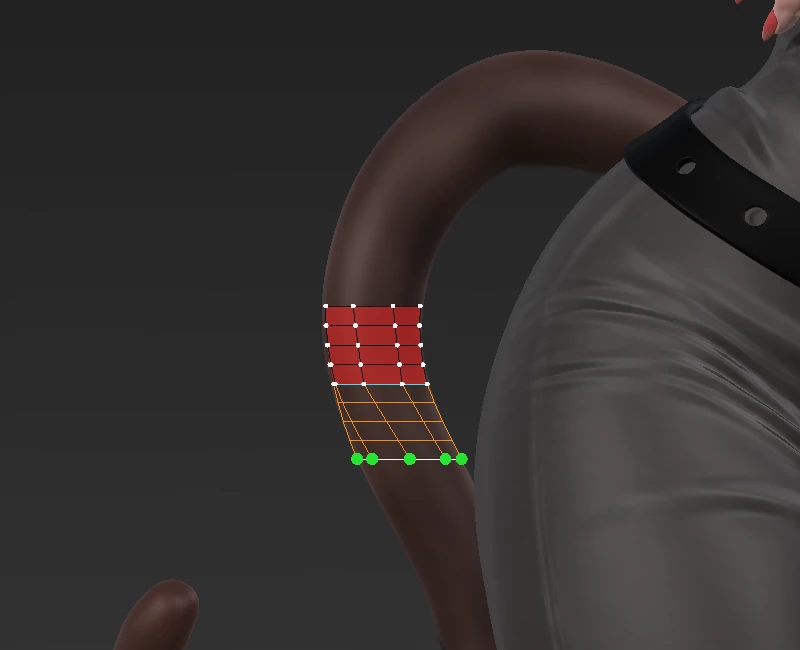
Every point of a cut ring that is not yet made into quads has a green grabber. Drag one and the ring's points slide along the cut — they never leave the ring line — and the tube preview follows, so you can line the new ring up with the ring before and take the twist and skew out of the quads between them. With Group Slider on (Ring's setting at the bottom of the window; on to start with) the whole ring slides round together, every point by the same amount; turn it off to move each point on its own. A single point stops short of its neighbours, so points never cross. The one under the cursor lights up; grabbers on the far side of the limb are hidden (turn on X-Ray to reach them). Each drag is one undo step, and changing the ring's point count spaces the points evenly again.
Skew
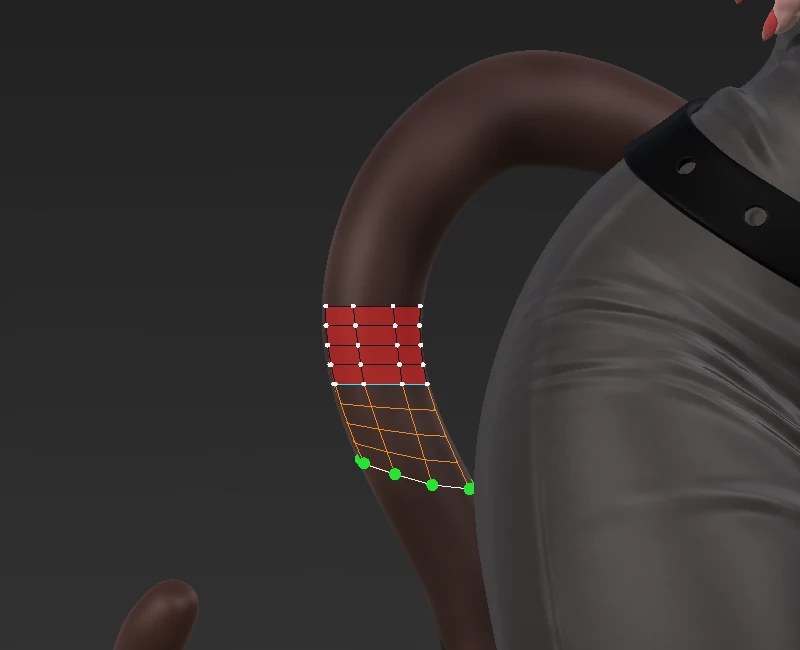
Turn on Skew (Ring's settings) and dragging a grabber pulls its point along the limb instead: the grabbed point moves the most, the others less the further round the ring they are, and the point opposite does not move, so the ring tilts — for a limb that bends, or quads that lean. Drag along the limb on screen (with the limb seen end-on there is no direction to pull along; turn the view). Straighten takes the skew off again. Each skew is one undo step; a new cut or a new point count starts straight.
If the line does not cross a whole limb, or the cut is not closed (a hole or hidden faces there), the status line says so and nothing changes.
Cap
Cap closes the end of something tube-shaped — a fingertip, a toe, the round end of a pill capsule, even one that bulges. Hover an open loop of edges and the whole loop lights up; click it and the cap is made at once, in the group colour, the way a Pencil patch is: rings of quads climb the dome, evenly spaced over the surface, up to a small grid at the top. How many rings you get is worked out from the loop — rows about as deep as the loop's edges are long. The cap stays live until you keep it:
- Ctrl + mouse wheel, or Up / Down, add or remove a ring (Shift with the arrows: five at a time). The Rings slider in the tool's settings does the same.
- Left / Right turn where the top grid's corners sit, one edge at a time, to line its flow up with the rest.
- Enter or Space keeps it, and so does picking another tool. Until then another loop cannot be capped; you can still pick and drag points, edges and quads, and the first drag on the cap keeps it.
- Esc takes it away; Ctrl+Z brings it back.
The loop needs at least 4 edges. A loop with an odd number of edges is capped too, but quads alone can never close an odd loop, so its first ring ends in one triangle, on the loop's shortest edge; the rest of the cap is quads.
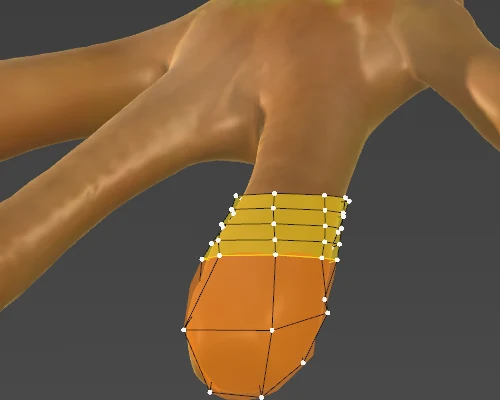
The Edit tab's Fill is the same tool for a hole in the middle of the quads, lying flat on the surface instead of domed.
Extend
Pulls new rows of quads out of an open edge, a row at a time.
- Click open edges to pick them (Shift+click adds or removes one, Alt+click takes the whole run of open edges). They turn yellow; they must make one connected run.
- Move onto the model: a preview row reaches from the picked edges to the cursor. Its outer edge is drawn as a thick line in the action colour.
- Press on the model (or on that thick line) and the row stops following the cursor. Grab the thick line and drag it: the outer edge moves with the cursor in any direction across the model's surface, the row's other side staying on the picked edges. Let go and grab it again as often as you like.
- Press Enter to make the row. Its new outer edge is picked straight away, so the next row starts from it, following the cursor again — keep going to grow the mesh row by row.
- Esc or a right click ends it (and Enter with no row showing).
Extend's settings choose Click (the steps above) or Drag. With Drag, press on an open edge and drag outward: the edge is picked (pressing on an edge already picked drags the whole picked run), the new row follows the mouse, and it is made when you let go. Its outer edge stays picked, so you can press on it and drag the next row out.
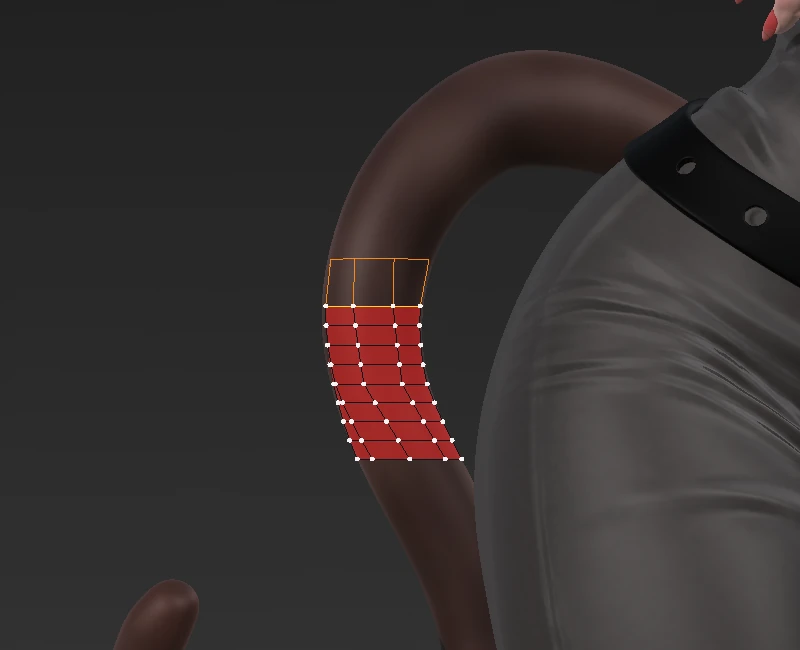
The Edit tab's Extend is a different tool: it slides an edge outward without adding rows.
Bridge
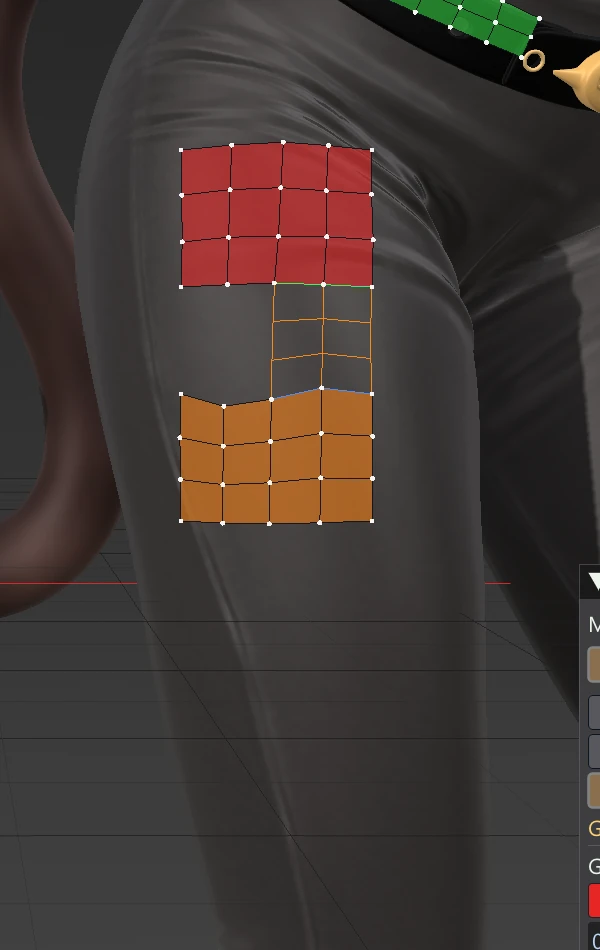
Fills the gap between two open edges with rows of quads — joining two patches, closing the space between a front and a back.
- Pick the first edges: they turn green (click, Shift+click to add, Alt+click for the whole run).
- Press Tab, or simply click an edge of another run: the second edges are picked in blue.
- The two must have the same number of edges. Then the bridge is previewed; Up / Down set its rows and Tab again makes it (Enter does too). The next edge you pick is green again. Otherwise the status line shows “Green a edges · Blue b edges: the counts must match.”
Two whole loops (both ends of a gap round a limb) make a closed tube between them. Join > Connect is the quick one-row version.