
Quad-Patcher
The Quad-Patcher is retopology by hand. Instead of letting Manual or Auto Remesh decide where every edge goes, you draw the new quads yourself, straight onto the model: strips along a curve, patches between curves, rings round an arm, caps over a finger tip. You can push the points about afterwards, cut new edge loops, weld, bridge and fill, and when the mesh is right, Finish puts it into the Generated Mesh, where it is UV-mapped and baked like any other. The Quad-Patcher is in the Vertexix and Ultra editions.
Opening it
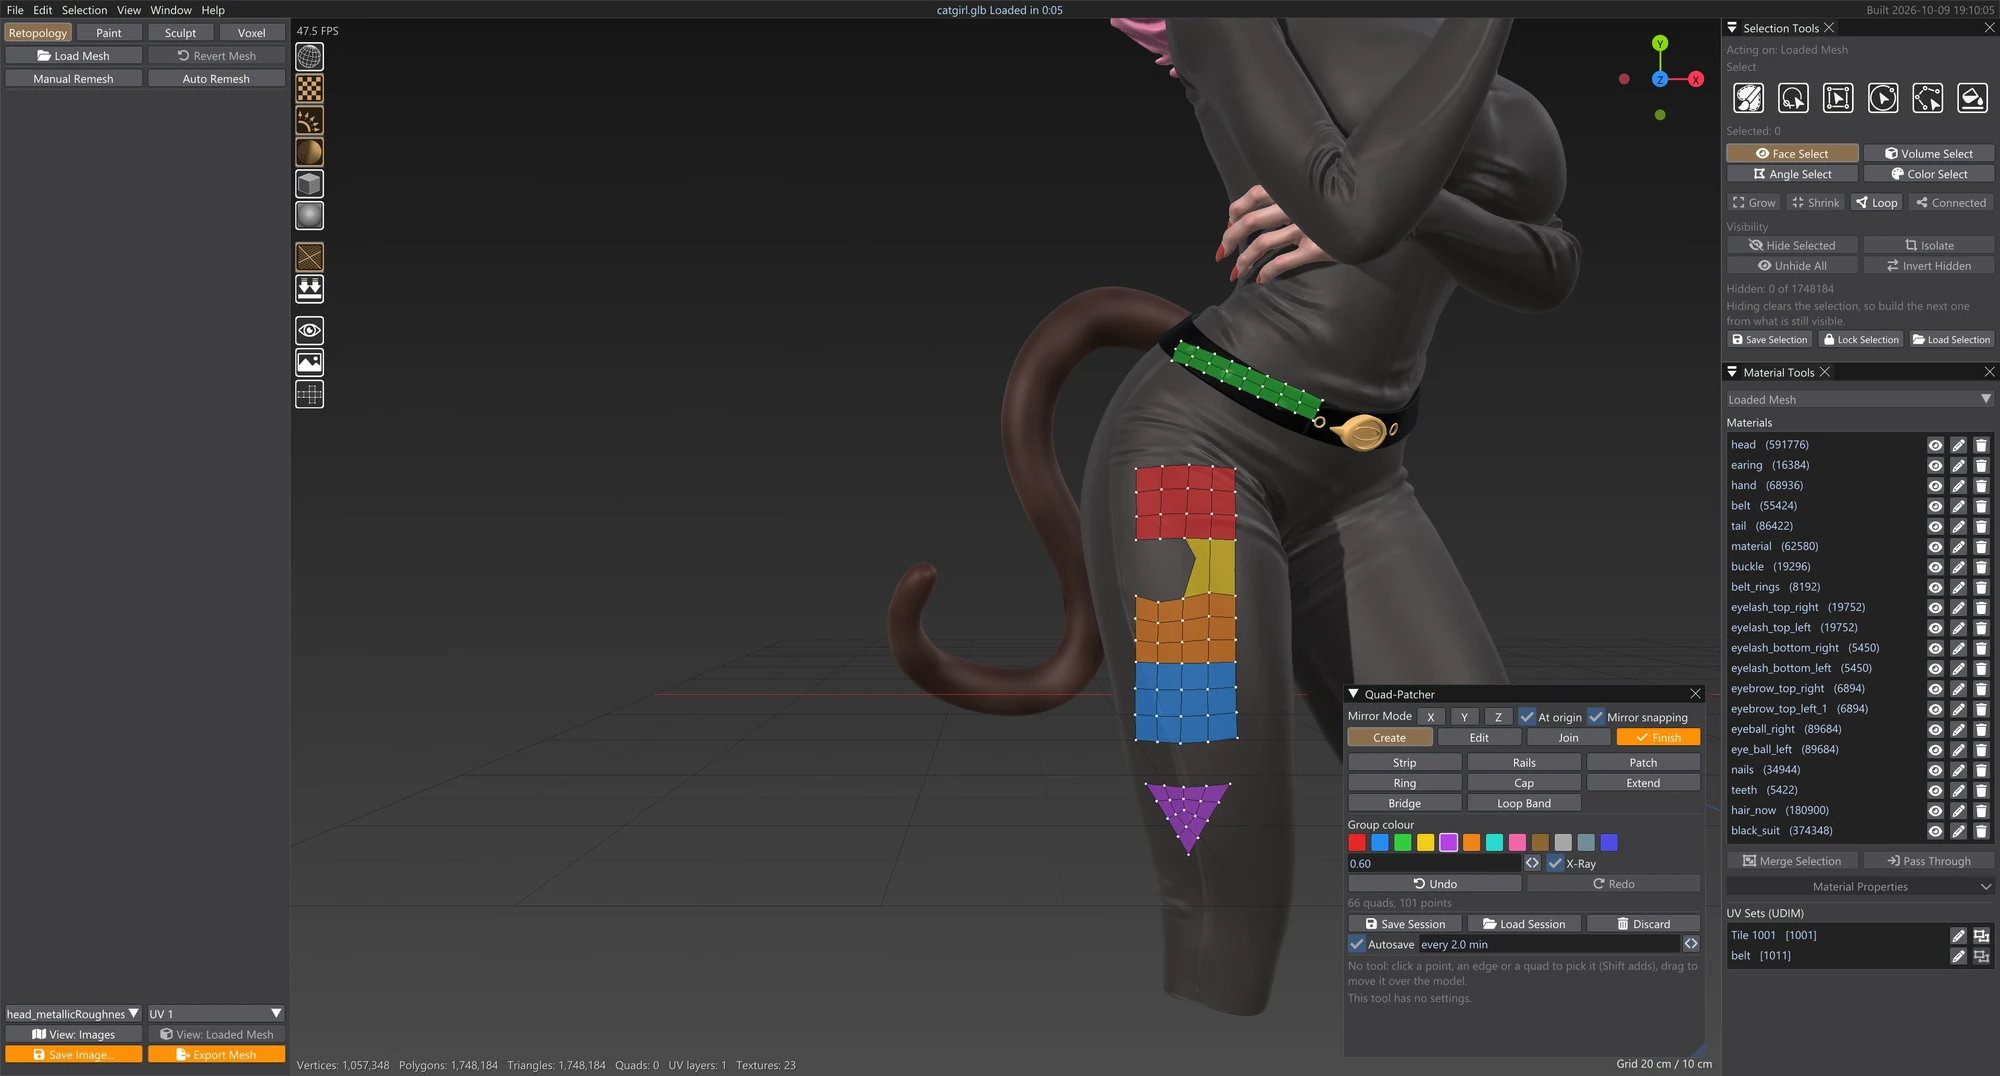
In the Retopology tab, choose Window > Quad-Patcher or press Ctrl+Q (a key you can change in Settings > Keyboard, under Remesh). Opening the window starts a session:
- The Quad-Patcher works in its own place. The session holds the Quad-Patcher's own quads: empty the first time, then whatever you made in it last time. It never takes in the Generated Mesh. Topology from Auto Remesh or Manual Remesh stays in the Generated Mesh, untouched, and is never treated as Quad-Patcher work. Nothing reaches the Generated Mesh until you press Finish; see Finish & Sessions for how Finish adds, replaces or updates.
- If the Generated Mesh is a sculpt (made with Rebuild in Sculpt, or one with subdivision levels), it is the surface to retopologize, as with Auto and Manual Remesh. A question first asks whether it may replace the Loaded Mesh. With Replace the Loaded Mesh and Continue, the sculpt becomes the Loaded Mesh and the window opens with an empty session, ready for you to draw quads onto the sculpt. Cancel leaves everything as it was, and the window does not open.
- The Generated Mesh itself is hidden and the Loaded Mesh is shown, with the session's quads drawn over it in their group colours, their edges in dark lines and their points as white dots. Large quads are drawn bent to follow the model's surface, so they cover it right to the edge instead of cutting across its curves (only the drawing is bent: the quads themselves stay as they are).
- The Loaded Mesh's polygon highlight and selection fill are switched off while the window is open, so they never cover the points and edges you are picking.
Closing the window does not lose anything: the session is kept and carries on when you open it again (see Finish & Sessions).
The window
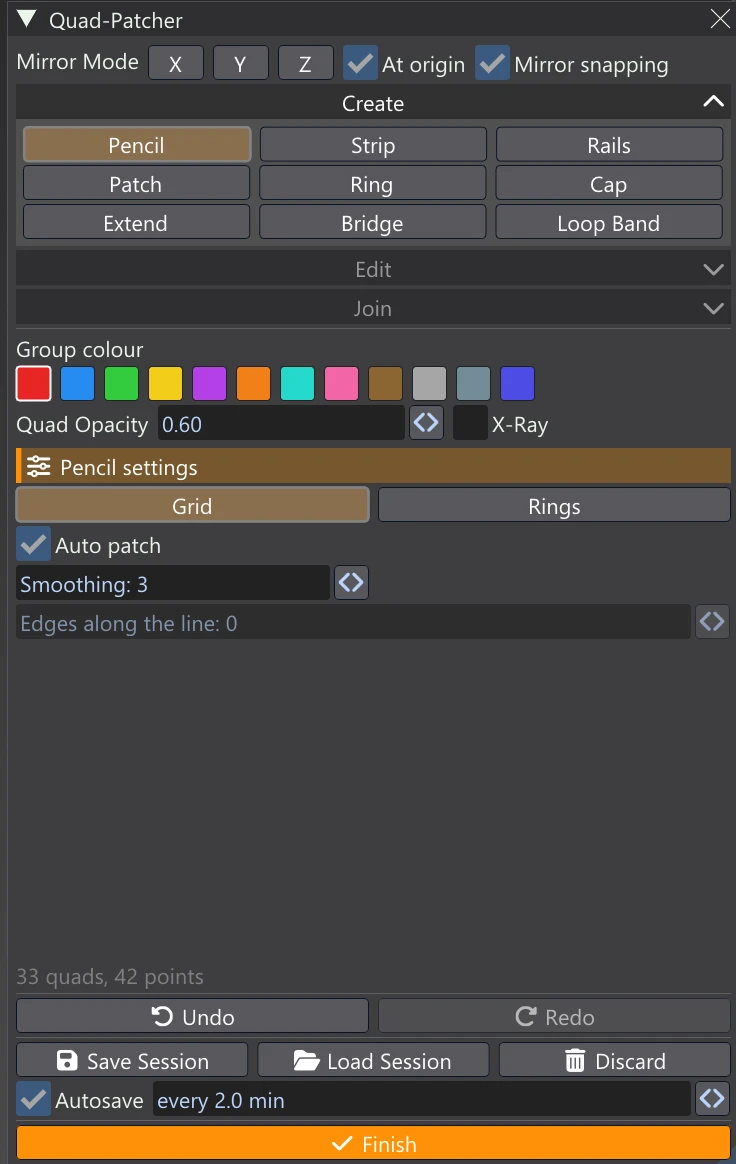
The window opens with no tool picked (see No tool). What a tool is waiting for, and why something was refused, shows on the app's status line at the top of the screen.
| Part | What it does |
|---|---|
| Mirror Mode X / Y / Z, At origin, Mirror snapping | Everything you make or edit is mirrored across the planes you turn on. See Mirror Mode. |
| Create / Edit / Join | The three sets of tools, each an accordion: click its bar to open it (the others close), or pin it open with the thumbtack that shows on its bar while the mouse is over it. The window remembers which are open and pinned. One tool is active at a time; hover a tool for a reminder of how it works. Click the lit tool again to turn it off: see No tool. |
| Group colour | New quads take this Selection Tools group (F1–F12 pick it too). Picking a colour while quads are selected recolours them at once (one undo step). With an Edit tool, Apply Colour also recolours the selected quads and Delete removes them. |
| Select | To the right of the swatches. While it is on, clicking a swatch selects every quad of that colour (Shift+click adds) instead of choosing the colour new quads take. Click it again to turn it off. |
| Wire Frame | Under the swatches. The colour of the quads' edges, and of the UV Editor's wireframe too. Click the swatch to pick a colour; its alpha sets how strongly the wire shows. It is kept between sessions. |
| Quad Opacity, X-Ray | How solid the quads are drawn over the model, and whether they show through it. With X-Ray off, quads facing away from you — and their edges and points — are not drawn at all (backface culling); with it on, both sides show. |
| Create UV from Selection, Straight grid / Smooth / Shape | Always under Group colour (Smooth unless you pick another): the picked quads get UVs in their own UV map and the UV Editor opens on them. See Create UV from Selection. |
| Remake UV on drag | Under Create UV from Selection. Moving a point takes the UVs off the quads around it, since their old UVs no longer fit. With this on, when you let go of the drag those quads get UVs again, the way Create UV from Selection makes them (with the method beside it) and joined to the quads around them. Off by default; it is kept between sessions. |
| UV Opacity, Selection Opacity | How quads that have UVs look: how visible their UV image is, and how strongly their group colour is laid over it as a tint (a quad always keeps its group colour; 0 leaves the image alone). |
| Sent quads: Image / Colour | How quads that have UVs are marked: the image picked in the Image View (the UV checker, Grey, a texture) through their UVs, or a light blue of their own. See Create UV from Selection. |
| Tool settings | Under the highlighted title: the settings of the tool in use. Every Create tool keeps its own — rows, columns, width, ring points, rings — and the arrow keys change the same values; Defaults puts the tool back to how it starts. Also the brushes' size and strength, Edit's Points / Edges, and Ring's Group Slider and Skew. The window grows to show them all. |
| Quads, points | At the bottom: how many quads and points the session has. |
| Undo / Redo | The session's own undo, also Ctrl+Z / Ctrl+Y while the window is open. See Undo. |
| Save Session, Load Session, Discard, Autosave | Keeping unfinished work. See Sessions. |
| Finish | Always at the very bottom of the window. Sends the Quad-Patcher's quads into the Generated Mesh, as one step you can undo. The quads stay in the Quad-Patcher too, so you can keep working and send again. |
No tool: picking and moving
With no tool lit (click the active tool again to turn it off), the mouse edits what is under it: near a point it picks the point (ringed in cyan, and it reaches a little way off the quads, so a point on an open edge is easy to grab), near an edge the edge, anywhere else on a quad the quad — the one it would pick lights up cyan, exactly where it is drawn. Click to pick it, Shift+click to add or take away; drag to move everything picked over the model. One point follows the cursor exactly; edges and quads move with the drag, and every point moved is put back on the model's surface, so nothing goes inside it or comes off it. Mirror Mode moves the mirrored points too; each move is one undo step; Delete removes picked quads.
The tools
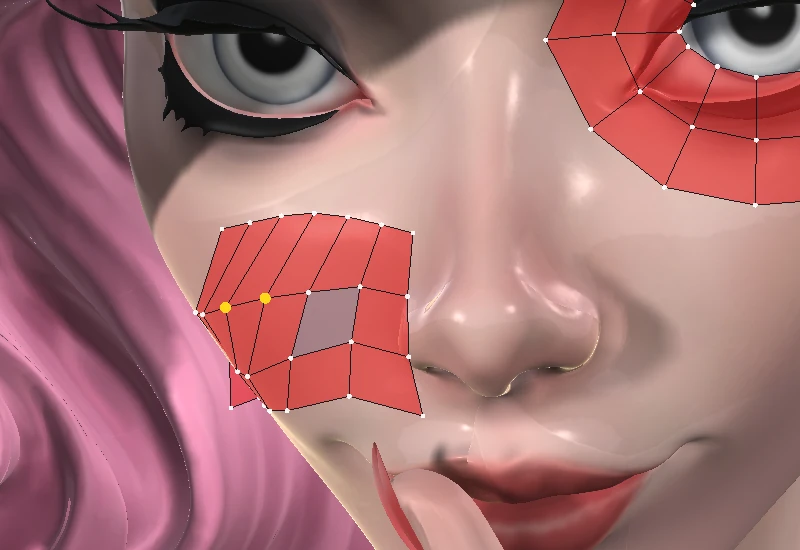
- Create: Pencil, Strip, Rails, Patch, Ring, Cap, Extend and Bridge and Loop Band.
- Edit: Move Brush, Relax Brush, Edit, Loop, Split Loop, Extend and Fill.
- Join: Connect, and the Weld and Join Faces buttons.
Three keys work from any tool: Alt+W welds the picked points, Alt+P makes a triangle or quad through them, and Alt+Z joins the picked polygons into one. All three can be changed in Settings > Keyboard, under Quad-Patcher.
While a session is open
While the window is open, Finish may write into the Generated Mesh at any moment, so everything else that would replace or read it waits until you Finish, Discard or close the window: loading or reverting a model, Create Topology, Generate UV Map, the bakes, Pass Through and deleting generated materials all say “Finish or discard Quad-Patcher first.” The UV Editor stays open and shows the Generated Mesh as it was last finished — which Create UV from Selection brings up to date. Saving a project is allowed and saves the session with it. Switching to Paint, Sculpt or Voxel closes the window and keeps the session.
Undo
The Quad-Patcher has its own undo, separate from the rest of the app until you Finish, and it goes back one action at a time: each point you place or move, each curve you end, each ring cut, each edge or loop you pick, each selection click, a run of arrow-key count changes, a tool change, Esc, and of course every set of quads made and every edit. Undoing the quads a tool made brings back the curves, cut or picked edges they came from, so you can adjust them and press Enter again. Hover the Undo and Redo buttons to see what they will take back or do again; the status bar names each step as it goes.
The history is kept when you close the window or switch modes, together with anything you were in the middle of drawing. It is not saved in session files or projects (they keep the quads). It is limited to 300 steps and to the memory its copies of the quads take, the oldest steps going first.
Keys
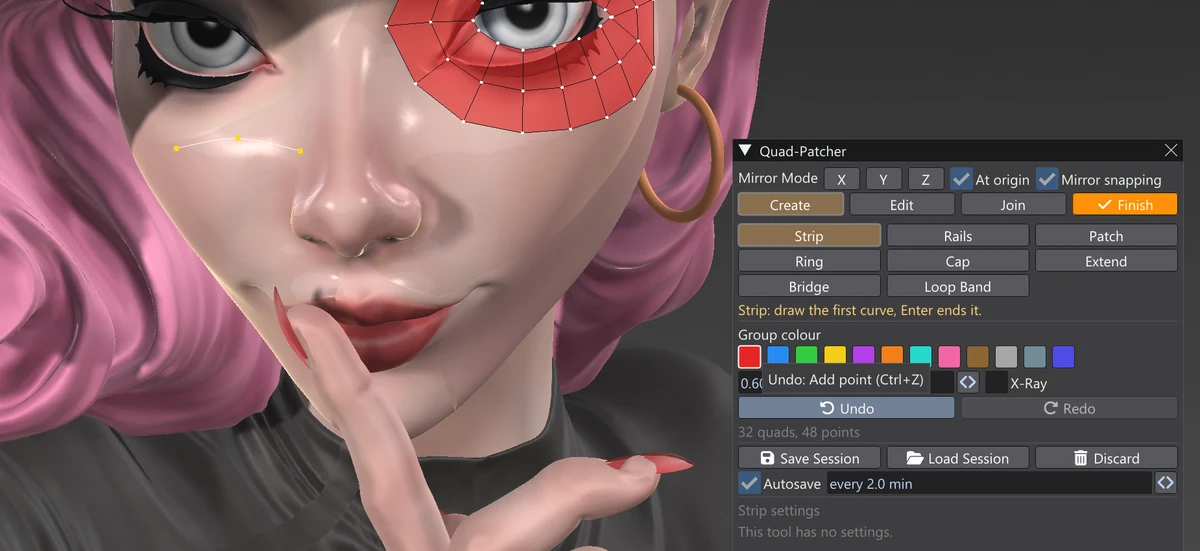
While the window is open these keys belong to the Quad-Patcher (the ? window lists them under Quad-Patcher (while open)):
| Key | What it does |
|---|---|
| Up / Down | Rows, a cap's rings, or inset rings (Fill). |
| Left / Right | Columns, ring points, a patch's side density, or where the corners of a cap's or fill's middle grid sit. |
| Shift+arrows | Five steps at once. With Rails, Shift+Up / Down is the band's width. |
| Enter | Ends the curve being drawn; with nothing being drawn, makes the quads. |
| Space | Puts the active tool away (no tool: pick and drag), and brings it back the next time. Not while the Pencil or Cap has a patch to keep: then Space keeps it. |
| Esc | Drops the draft and the selection. |
| Backspace | Removes the last point of the curve; in the Edit tools, deletes the selected quads. |
| Delete | Deletes the selected quads — or, with points or edges picked instead, every quad that uses them. |
| Alt+Z | Joins the selected polygons into one (a triangle or a quad). See Join. |
| Tab | Bridge, Connect: switches to the second (blue) edges. |
| L | Loop: with two edges picked in a row, two neighbouring points or two neighbouring quads, picks the whole line they run along -- along a patch's side it stops at the corners. Works on Bridge and Connect's green or blue edges too. Rebind it in Settings > Keyboard Setting > Quad-Patcher. |
| 1 / 2 | Edit: pick points / edges. |
| [ / ], Shift+[ / ] | Brush size / strength. |
| Ctrl+Z / Ctrl+Y | The session's undo / redo. |
While the window is open the left button belongs to the tools: a left click or drag never turns the view, even on empty space. Turn the view with a right drag or Alt+left drag; the wheel and the middle button work as usual. (Alt+click on an edge still picks a whole run of edges with Extend, Bridge and Connect, and an edge loop with Loop.)