
Align
The Align accordion lines UVs and islands up: against each other, against the tile, or against the 2D cursor; it turns islands square or upright; it evens out their sizes and spacing; and it lines up the two sides of a seam. These tools only move UVs — they never reshape an island from 3D — and the texture follows every move. Editing is for Regular and up; in Free and Light the buttons are disabled and their tooltip says why.
What a tool works on
Like every tool, these need a selection. What they move depends on the selection mode:
- Face and Island modes: each connected group of selected faces is moved whole.
- Vertex mode: every selected UV, as one set.
- Edge mode: each connected run of selected edges, by itself.
Each tool is one undo step, and its settings appear in the Adjust box at the bottom of the column afterwards.
The align grid
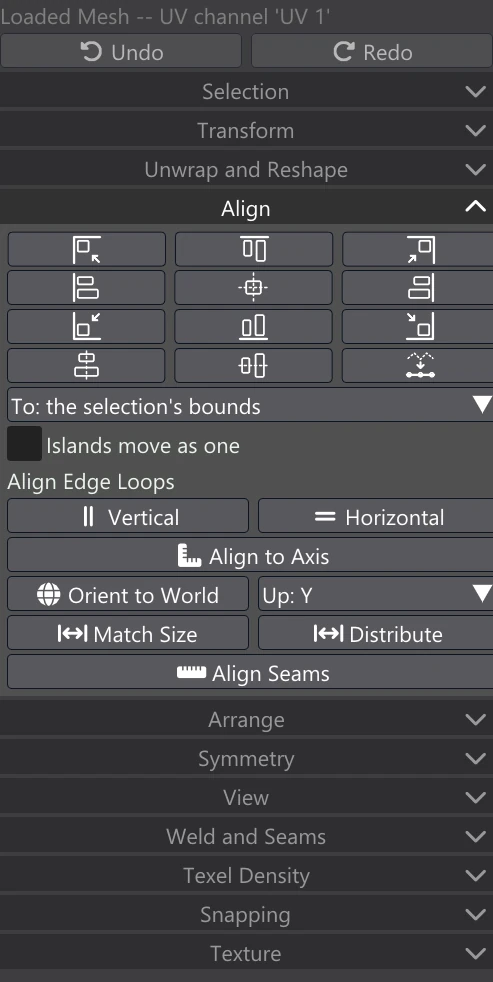
Twelve icon buttons; hover one for its name. The first three rows are the nine positions of a box, the last row the centre lines and Straighten. In the face modes they move whole islands; in Vertex and Edge modes they put the selected UVs onto one line.
| Button | What it lines up |
|---|---|
| Top left, Top right, Bottom left, Bottom right (the grid's corners) | Into that corner: the top or bottom edges onto one line and the left or right edges onto another. |
| Top, Bottom | Every top (or bottom) edge onto one line. In Vertex and Edge modes, the selected UVs onto one level line at the top (or bottom). |
| Left, Right | Every left (or right) edge onto one line. In Vertex and Edge modes, the selected UVs onto one upright line. |
| Centre (the grid's middle) | The centres onto one point. In Vertex and Edge modes: the UVs onto one straight line, through the two that are farthest apart. |
| Centre U | The centres share one U: a column. Vertex and Edge modes: the UVs onto one upright line through their middle. |
| Centre V | The centres share one V: a row. Vertex and Edge modes: the UVs onto one level line through their middle. |
| Straighten | Vertex and Edge modes: the UVs onto the straight line between the two farthest apart. Islands: their centres into one column. |
| Control | What it does |
|---|---|
| To: dropdown | What the selection lines up with: the selection's bounds (the edge or middle of the box around what is selected), the tile (the edge or middle of the UDIM tile it is in), or the 2D cursor (place it with Shift+right-click on the canvas). |
| Islands move as one | Face and Island modes: the selected islands move together, keeping their places among themselves — the whole selection is lined up as one block. Off: each island lines up by itself. |
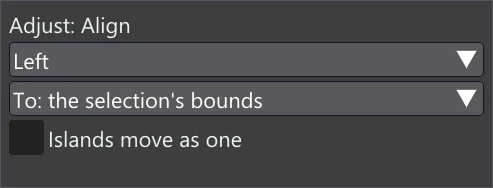
After any grid button, the Adjust box lets you switch to another position (the first dropdown lists all twelve), another target, or Islands move as one, and see the result at once. Changing the target or the checkbox here also changes them in the column.
Align Edge Loops
Vertical makes every run of selected edges that stands nearly upright straight up and down; Horizontal makes every run that lies nearly flat level. Each run is lined up on its own average position, so several loops can be straightened in one go — useful for the rings and seams of a cylinder unwrap. In the face modes, the edges of the selected faces count. If no selected edge runs near the chosen direction, nothing changes and the status line says so.
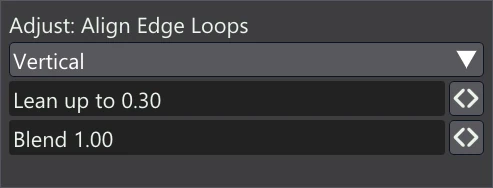
| Setting | What it does |
|---|---|
| Vertical / Horizontal | Which runs are lined up. |
| Lean up to | How far an edge may lean off the axis and still be aligned, as the sine of its angle: 0.3 is about 17°. Raise it to catch more slanted edges. |
| Blend | How far onto the line the points go: 1 all the way, 0.5 halfway. |
Align to Axis
Turns islands square to U and V.
- Islands (Face and Island modes): each island is turned so its edges run along U and V as nearly as they can, judged by all of its edges together.
- An edge (Vertex or Edge mode): select one edge of an island and the island is turned to make that edge exactly upright or level, whichever is nearer. Use it to square an island to one edge that matters, such as a hem or a panel line. Without an edge selected it says Select an edge first: the island turns to make it square.
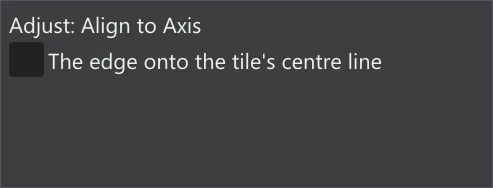
| Setting | What it does |
|---|---|
| The edge onto the tile's centre line | Vertex and Edge modes: after the turn, the island moves so the squared edge lies on the middle of its tile (the upright centre line if the edge now stands up, the level one if it lies down). |
Orient to World
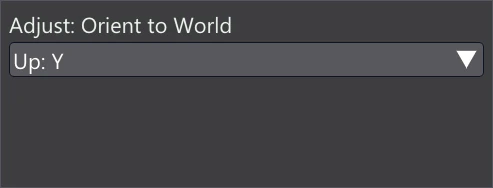
Turns each selected island so the chosen 3D axis of the model points up the texture. Pick the axis in the Up: dropdown beside the button (Up: X, Up: Y or Up: Z). Use it so that text, stripes or a grain in the texture run the same way on the model as in 3D — for example, every wall island of a building with Y up. An island the axis stands straight out of (a floor, with Y up) has no up and is left as it is.
| Setting | What it does |
|---|---|
| Up: X / Y / Z | The 3D axis that is made to point up the texture. Changing it here also changes the dropdown in the column. |
Match Size
Makes the selected islands the same size: the same height for a row of them, the same width for a column. Each island is scaled to the height (or width) of the whole selection's bounds, and lined up along the bottom (or left) of them. It needs two islands or more (or, in Vertex and Edge modes, two runs of edges).
| Setting | What it does |
|---|---|
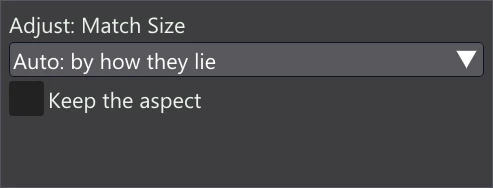
| Auto: by how they lie | Islands spread out along U (a row) get one height; islands spread out along V (a column) get one width. |
| Width and height | Each island is stretched to the selection's whole bounds, both ways. |
| Height / Width | Only that size is matched. |
| Keep the aspect | With Auto, Height or Width: each island is scaled evenly, so its other side grows or shrinks by the same amount (about its centre) and its shape is not stretched. |
Distribute
Spaces the selected islands evenly along U or V, or one after another. Only that one coordinate moves, and every island is moved whole. It needs two islands or more, and, like the other arranging tools, works on each material's islands apart, so no island leaves its material's tile. It runs in the background with a progress bar and a Cancel button in the column.
| Setting | What it does |
|---|---|
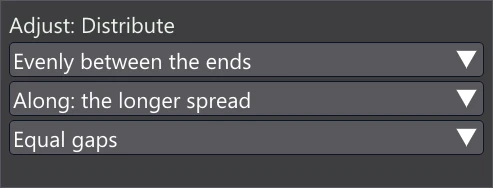
| Evenly between the ends | The first and the last island stay exactly where they are; those between are spaced evenly. |
| One after another | Starting from the first island, each one is placed a set gap past the one before. |
| Along: | the longer spread (whichever way the islands are spread out more), U or V. |
| Equal gaps / Equal steps between centres | Evenly only: the same empty space between neighbouring islands, or the same distance from one island's centre to the next. |
| N texels apart | One after another only: the gap between islands, in texels of the selection's image. |
Align Seams
Select both sides of a seam — the edges of two islands that meet in 3D — and press Align Seams: each 3D point's UVs on the two sides are lined up straight across from each other. Only the selected seam UVs move; the islands are not joined (to join them, use Stitch in Arrange or Weld in Weld and Seams). Use it to tidy a seam so that a texture painted across it lines up on both sides.
The selection must lie on exactly two islands: otherwise it says Select the two sides of a seam: the edges of two islands that meet in 3D. It works on the Loaded Mesh and the Generated Mesh alike.
| Setting | What it does |
|---|---|
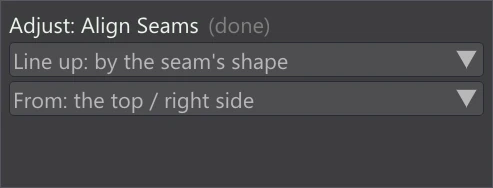
| Line up: by the seam's shape | A seam that runs up and down is lined up across in V (the pairs side by side); a seam that runs across is lined up in U (one above the other). |
| Line up: the same U / the same V | Force the coordinate each pair of UVs shares. |
| From: the top / right side | That side stays; the UVs on the other side move to match it. |
| From: the bottom / left side | The bottom or left side stays; the other side moves. |
| From: both, the middle | Both sides move, each pair meeting halfway. |