
Weld and Seams
Weld and Seams joins and cuts the layout: Weld and Merge by Distance join UVs into one, Split cuts faces free into an island of their own, and Mark seams marks the Generated Mesh's seams for its next UV map. Changing the layout needs Regular and up.
Every tool here is one undo step, even when it changes several things at once (the coordinates, which UV vertices exist, and the marked seams). Its settings appear in the Adjust box at the bottom of the column afterwards. Joining islands across a seam with a turn or move first is Stitch, now in Arrange; lining up the two sides of a seam is Align Seams, in Align.
Weld
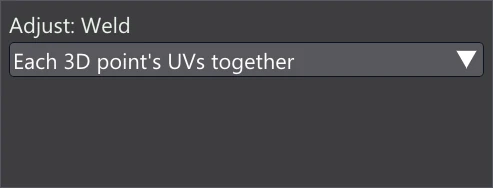
Weld joins both sides of a seam. Select the UVs on both sides — with Sticky: Shared Vertex (see Selection) a click picks both sides at once — and press Weld: the selected UVs of each 3D point meet at their average and become one, so the seam closes there and the two islands become one.
If no two selected UVs belong to the same 3D point, nothing happens and the status says so: select both sides of the seam, not just one.
| Adjust setting | What it does |
|---|---|
| Each 3D point's UVs together (default) | The UVs of each 3D point meet at their own average. Selected UVs of different points stay where they are. |
| All to their middle | Every selected UV goes to one spot: the average of the selection. This is worked out per material, so a material's UVs never leave its own tile. |
| All to the 2D cursor | Every selected UV goes to the 2D cursor. |
With the last two modes, UVs that land on one spot and belong to one 3D point also become one, as with the first.
Merge by Distance
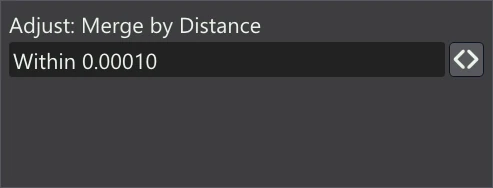
Merge by Distance merges the selected UVs that already lie within a small distance of each other: each cluster moves to its average. Use it to tidy up after an import that left near-duplicate UVs along seams, or to rejoin faces you split without moving them.
| Adjust setting | What it does |
|---|---|
| Within | How close the selected UVs must be to merge, in UV units (1 is the width of a tile). The default 0.0001 is under half a texel of a 4K image. If nothing is that close the status says so: raise the distance here. |
Weld or Merge? Weld goes by the model: it joins the UVs that are the same 3D point, however far apart they lie in the layout. Merge goes by the layout: it pulls together UVs that are already close, whatever they are on the model. Only UVs of the same material merge, and UVs that are not the same 3D point end up on one spot but stay separate.
Split
Split cuts the selected faces free: they become an island of their own, still in place, joined inside but cut from every face around them. Nothing moves, so the island looks the same until you move it. If the selection is an island of its own already, nothing happens. Select faces (not just vertices) first.
What happens underneath depends on the mesh:
- Generated Mesh. Its UV map already keeps its own vertices apart from the mesh's, so Split only gives the selected faces UV vertices of their own. The mesh itself is unchanged.
- Loaded Mesh. An imported model has one UV per vertex, so a cut needs new vertices: the shared corners of the selected faces become copies of their vertices. Everything painted or sculpted on those vertices is carried onto the copies — vertex paint layers, sculpt layers, masks, density paint, Pose weights — and the copies keep their normals, so no shading seam appears. The model's vertex count grows by the number of copies.
On the Loaded Mesh, Split waits while a bake or a save is running (Wait for the bake or the save that is running to finish.). Straight after sculpting, the mesh may first need tidying: Vertexix does that and asks you to run Split again.
Splitting the Loaded Mesh changes its vertices, so, as with any change to the Loaded Mesh's topology, sculpt undo history is cleared. Split itself is undone with Ctrl+Z in the UV Editor, which restores the mesh exactly. Also, a split that you never move apart is remembered only for the session: after the project is reloaded, its copies lie on the same point with the same UVs and read as joined again. Move the split island before you save.
Mark seams
Marked seams belong to the Generated Mesh: they are the same seams as Seam Tools marks, shown in its overlay, and they decide where the next Generate UV Map cuts. Marking them does not change the current layout. The Loaded Mesh has no seams to mark, so on it these buttons are unavailable and their tooltip explains why.
| Control | What it does |
|---|---|
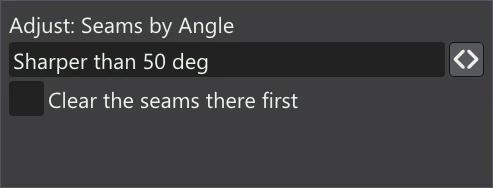
| By angle | Mark a seam on every edge sharper than an angle (set in Adjust): an edge whose two faces meet at more than that angle. On the selected faces, or on all of them when nothing is selected. A border of the mesh (an edge with one face) is never a seam. |
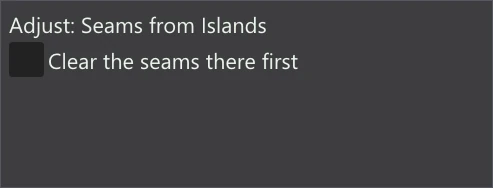
| From islands | Mark a seam wherever this layout is cut — along the islands' borders — so the next UV map cuts the same way. On the selected faces, or all of them when nothing is selected. |
| From selection | Mark a seam around the selected faces: every edge between a selected face and one that is not. Needs a selection of faces. |
| Adjust setting | What it does |
|---|---|
| Sharper than (By angle only) | The angle, 1 to 160 degrees: an edge whose two faces meet at more than this becomes a seam. Lower it for more seams. |
| Clear the seams there first | The marked seams on the selected faces (on all faces, when none are selected) are cleared before the new ones are marked, so the result is exactly what this tool found rather than added to the seams already there. |
To keep a layout you have edited by hand through a later re-unwrap, run From islands first: the seams then follow your cuts. Not every unwrap engine honours marked seams — see Generate UV Map.