
Selection
Every tool in the UV Editor works on the selection, and the Selection accordion is where you make it. Everything here works in every edition, and none of it changes the layout — only what is selected. Only the faces of the material chosen in the UV map dropdown can be selected. Clicking, dragging and the modifier keys on the canvas are described on Canvas, Map Bar & Shortcuts.
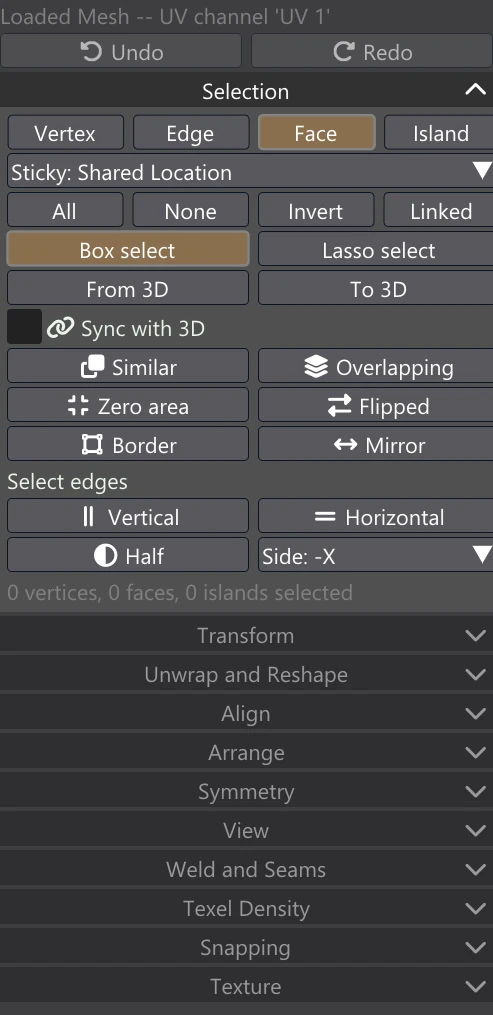
Selection modes
What a click on the canvas picks. The key works while the UV Editor window is active.
| Mode | Key | What it picks |
|---|---|---|
| Vertex | 1 | UV vertices. |
| Edge | 2 | UV edges. |
| Face | 3 | Faces. |
| Island | 4 | Whole islands: one click takes every face connected to the clicked one in the layout. |
The canvas draws vertex dots only in the Vertex and Edge modes, where vertices are what a click picks. Some select tools switch the mode to show what they found (an edge tool switches to Edge mode, for example).
Sticky
What a picked vertex brings along with it when you select and move.
| Option | What it does |
|---|---|
| Sticky: Off | The picked UV vertex alone. |
| Sticky: Shared Location | The other UV vertices on the very same spot of the same 3D point. An imported model often splits a vertex where only its shading changes, leaving two UV vertices on top of each other inside one island; with this option they stay joined, so moving one never tears the island open where there is no seam. The usual choice. |
| Sticky: Shared Vertex | Every UV vertex of the 3D point, across seams too: the matching corner on the other side of a seam comes along. In the Face and Island modes this acts as Shared Location, since dragging a seam's other side along with a face is never what a face pick means. |
All, None, Invert, Linked
| Button | Key | What it does |
|---|---|---|
| All | A | Select everything of the UV map shown. |
| None | Alt+A | Select nothing. |
| Invert | Ctrl+I | Select what is not selected, and deselect what is. |
| Linked | L | Grow the selection to the whole islands it touches. |
Box select / Lasso select
What a drag on empty canvas draws: a Box select rectangle or a free-hand Lasso select outline. The lit button is the one in use. Either way, a plain drag replaces the selection, Shift adds to it and Ctrl takes away. Vertices are caught when they are inside, edges when both ends are, faces and islands when their centre is.
From 3D / To 3D
- From 3D — select the faces that are selected in the 3D view, in the active selection colour.
- To 3D — select these faces in the 3D view too, in the active selection colour.
Sync with 3D
With Sync with 3D on, picking in either view picks in both: what you select here is selected in the 3D view (in the active selection colour), and a selection made in the 3D view shows here. Switching it on shows the 3D selection straight away. The 3D view selects whole faces, so in the Vertex and Edge modes only faces whose every corner is picked reach it. It is on until you switch it off.
While the Quad-Patcher is open, its points, edges and quads are what the 3D view shows, so they are what gets selected, both ways: pick vertices, edges or faces here and the same points, edges or quads are picked on the model (ready for the Edit tools, Delete, or Create UV from Selection); pick them on the model and they are picked here, the editor switching to the matching mode. Hovering works the same way: what the cursor is over on the canvas is lit on the model, and what it is over on the model is outlined on the canvas. To 3D adds to the quads' selection.
The select tools
The buttons below Sync with 3D each make a new selection from the layout. They change only the selection, never the layout, and work in every edition, even while other work is running. The result replaces the selection (Mirror can add to it instead) and may switch the selection mode to show what was found. The status line reports how many were found, or none found.
After a select tool runs, its settings appear in the Adjust box at the bottom of the column. Changing one makes the selection again, from the selection the tool started from. Tools without settings show It has no settings. The settings you last used are the ones the tool starts from next time.
Similar
Selects every island shaped like a selected one: the same number of faces and, by default, the same number of edges. Select one island (or part of one) first; the tool refuses with nothing selected. The result is in Island mode and includes the islands you started from. Use it to find every copy of a repeated part — bolts, rivets, tiles.
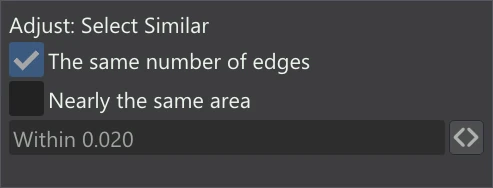
| Setting | What it does |
|---|---|
| The same number of edges | An island must also have the same number of edges. On by default. |
| Nearly the same area | An island must also have nearly the same area in 3D — the model's own size, which scaling the island in the layout does not change. Off by default. |
| Within | How far the areas may differ, as a share of the larger one: 0.02 is 2%. Used only with Nearly the same area. |
Overlapping
Selects the faces that lie over other faces in the layout — stacked or folded islands that share texels. Only faces of the same material count, since each material has its own image. Faces that only touch along an edge or at a corner do not overlap. The result is in Face mode.
Zero area
Selects the faces that have no area in the layout, so they get no texels at all — collapsed to a line or a point. The result is in Face mode.
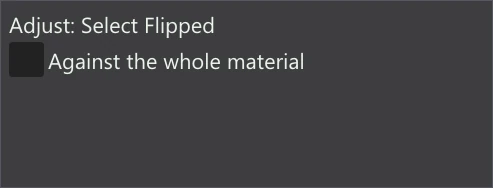
Flipped
Selects the faces wound the other way round from the rest of their island: folded over onto their neighbours, so they take the same texels. Which way is "right" is decided by most of the island's area, because a layout as a whole may wind either way without anything being wrong. The result is in Face mode.
| Setting | What it does |
|---|---|
| Against the whole material | Compare each face with most of its material's layout instead of with its own island. This finds whole islands that are mirrored. A mirrored island is not wrong in itself — normal maps handle it. |
Border
Selects the outline of the islands the selection touches, or of every island when nothing is selected. The result is in Edge mode.
Mirror
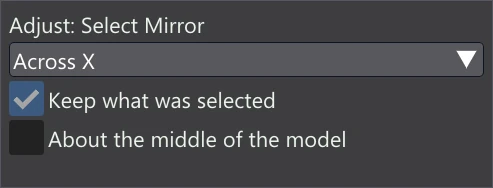
Adds the selection's mirror image in 3D: the matching faces (or vertices, or edges) on the other side of a symmetrical model, wherever they lie in the layout. It keeps the current selection mode. Select something first; the tool refuses otherwise.
| Setting | What it does |
|---|---|
| Across X / Y / Z | The model's mirror plane. Across X by default. |
| Keep what was selected | On: the mirror image is added to the selection. Off: the selection is replaced by its mirror image. |
| About the middle of the model | The mirror plane runs through the middle of the model's bounds. Off: through 0, the model's own origin. |
Select edges: Vertical / Horizontal
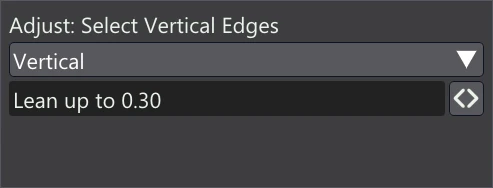
Of the selected edges (or all edges, when none are selected), Vertical keeps those running nearly up and down in the texture, Horizontal those lying nearly level. The lean is judged in texels, so a non-square texture does not skew it. The result is in Edge mode. Use it to pick out the straight runs of a layout before aligning them.
| Setting | What it does |
|---|---|
| Vertical / Horizontal | Switch between the two without starting again. |
| Lean up to | How far an edge may lean off the axis and still count, as the sine of its angle: 0.3 (the default) is about 17 degrees. Shared by both buttons. |
Half
Selects the faces on one side of the model in 3D, judged by each face's centre: the half of a symmetrical model to lay out first. The Side dropdown beside the button chooses which side: -X, +X, -Y, +Y, -Z or +Z. The result is in Face mode.
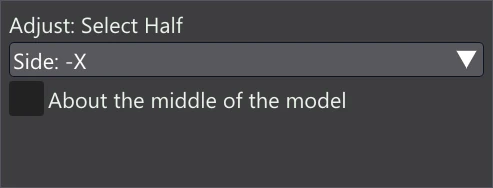
| Setting | What it does |
|---|---|
| Side | Which side is selected, as the dropdown in the accordion; changing it here also changes that one. |
| About the middle of the model | The dividing plane runs through the middle of the model's bounds. Off: through 0, the model's own origin. |
Half and Mirror need the model's 3D positions. If they are not available, the tool says so and the selection is left as it was.
The selection count
The line at the end of the accordion reads N vertices, N faces, N islands selected. Vertices stacked on the same spot of the same 3D point count once. The count of selected polygons is also under the canvas (see the polygon count).