
Send to Sculpt
Send to Sculpt turns the chain into a mesh in Sculpt, two ways. The chain stays in Voxel mode, so you can change it and send again.
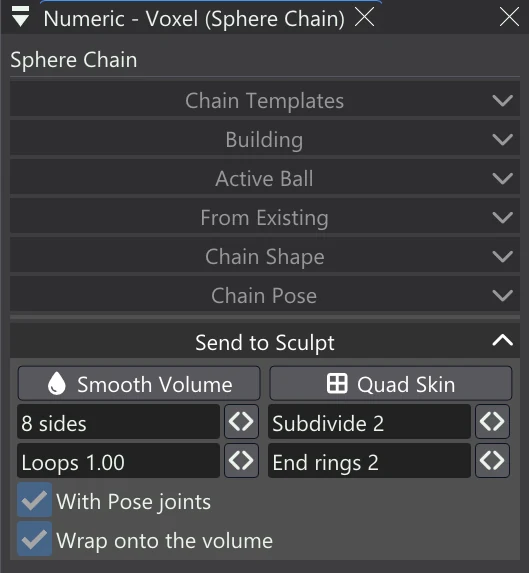
| Control | What it does |
|---|---|
| Smooth Volume | Sends the chain as its solid, meshed from the voxel field: every blend and fillet exactly, at the sculpt's density. It first asks for Max polygons, as the Voxel Tree's Send to Sculpt does: over the limit the volume is meshed at a coarser detail. |
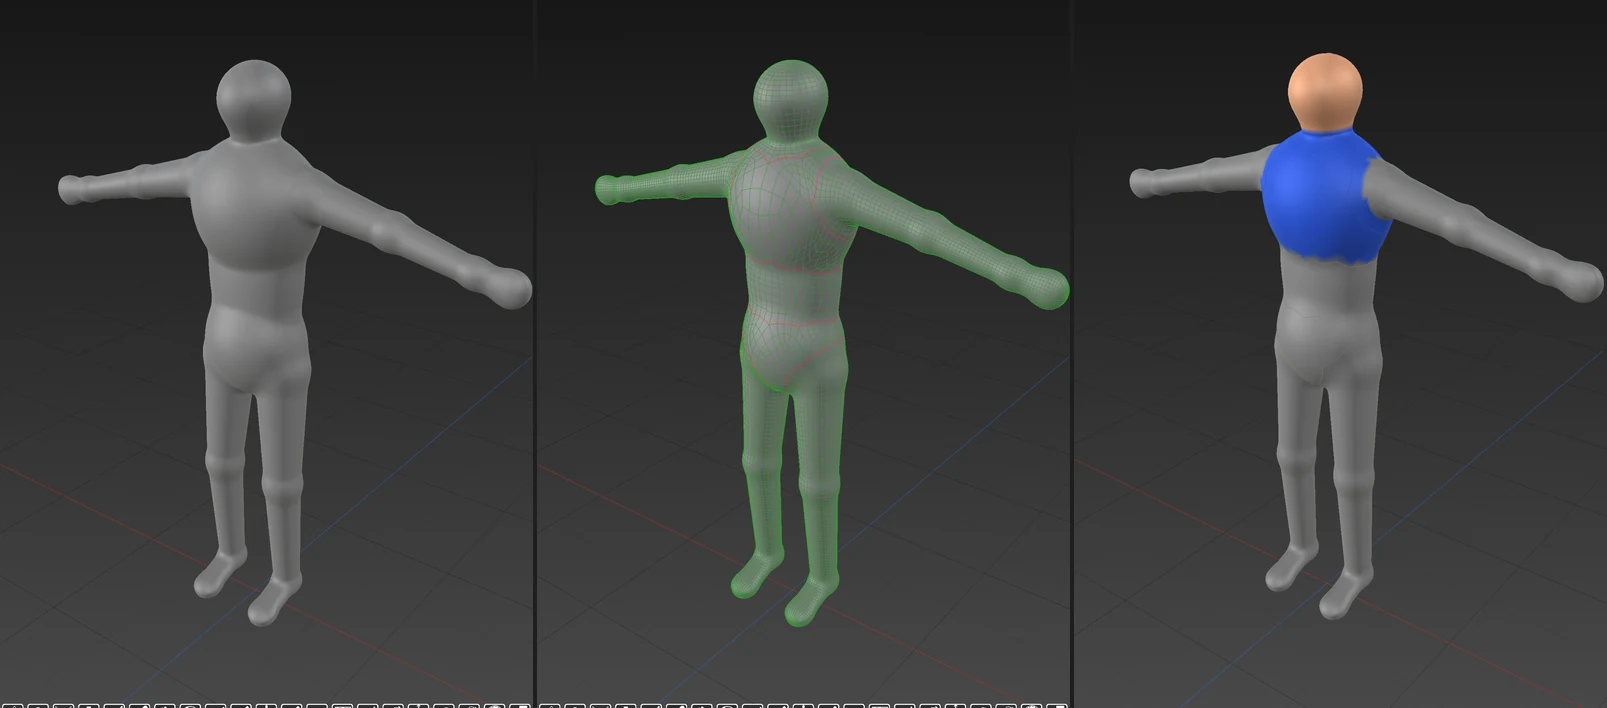
| Quad Skin | Sends the chain as a clean all-quad mesh built round its balls: edge loops round every link and a loop at every joint, ready to sculpt, subdivide and rig. |
| sides | Quad Skin: how many faces round every link (even, 4 to 32). |
| Subdivide | Quad Skin: how many times the cage is subdivided and smoothed. Each level has four times the faces. |
| Loops | Quad Skin: a loop along a link every this many times its radius. Smaller is denser. |
| End rings | Quad Skin: the loops round an end ball before it closes. |
| With Pose joints | Also makes the chain's Pose joints in Sculpt, so the sent mesh can be posed at once (see Posing & Rigging). |
| Wrap onto the volume | Quad Skin: each subdivision is pulled onto the Smooth Volume's surface, so the skin has the solid's shape — its blends and oval balls — with the cage's flow. |
Smooth Volume or Quad Skin?
- Smooth Volume is the exact solid, with every blend, cut and fillet. Its mesh is dense and even, like any voxel shape sent to Sculpt — made for sculpting. It is built at the sculpt's density, or, when there is no sculpt yet, at the Voxel tab's voxel size, so a fine voxel size takes longer.
- Quad Skin is light and tidy, with loops that follow the limbs: good to sculpt on with subdivision levels, and a much better start for rigging and retopology. Cut balls are left out, and with Wrap onto the volume the skin meets their hollows. Links that close loops become tubes like any other link. Use Preview: cage (Building) to see its edge flow before sending.
What the mesh carries
- Colours — each ball's material arrives as vertex paint: on the Quad Skin each point takes the colour of the ball nearest it. It shows in Paint mode.
- Seams — the Quad Skin's edges down the back of each limb, over its end caps and round where limbs leave the body are marked as UV seams.
- Pose joints — with With Pose joints on.
What next
Sculpt and vertex paint the sent mesh. When it is finished, retopologize it, make its UV map with Generate UV Map, and turn the vertex paint into a Base Color image with Vertex to Image.